3/6 Second part of the preparation and gluing

My desire to include fabric in my leather goods has led me to develop hybrid assembly techniques and adapted processes. My determination to maintain a high product quality despite the use of textiles really pushed me to find support materials that lend themselves to new assembly techniques.
From waxes for the backs of the handles and shoulder straps to the colorful dyes on the edges of the leather pieces, I tried several products before choosing the right ones for me. The same is also true for the glue used.
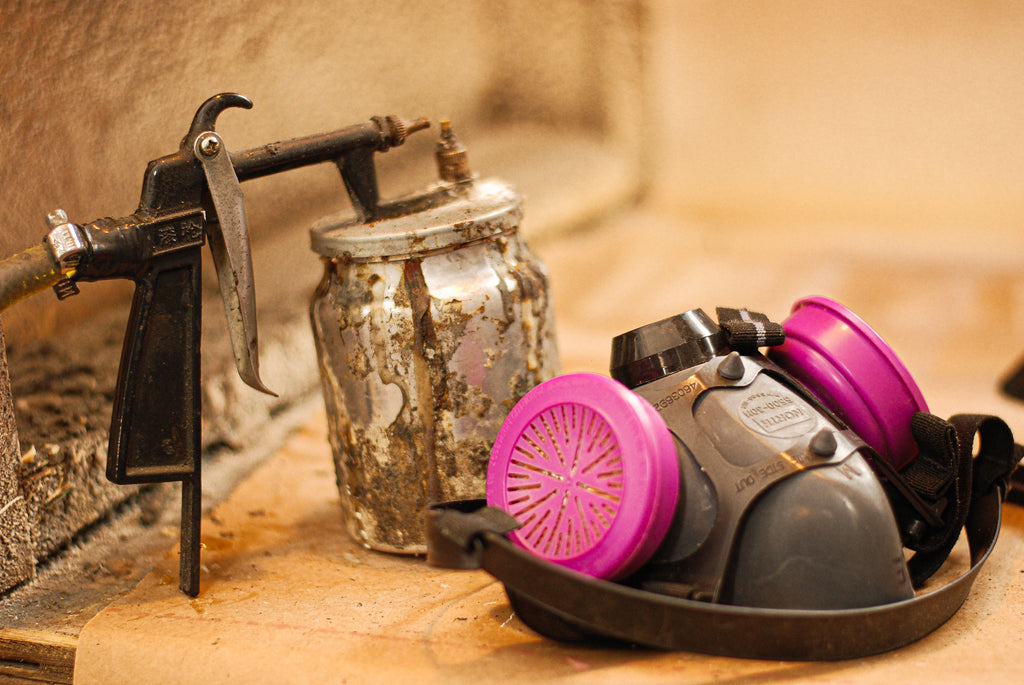
Glue is a product that I use in large quantities and my choice fell on a latex contact glue, without toxic fumes. I chose it because it is liquid enough to use with a spray glue gun and it adheres well to leather and fabric. A workshop colleague made us a "homemade" hood with ventilation and filters and I have to say it works well! This is a big addition for me since this gluing technique allows me to glue fabrics and leathers evenly and saves a lot of time! The glued parts must then dry flat for a minimum of 24 hours.

The finishing of the edges of the leather is also a significant step. It allows to seal the edge with a dye. I chose it colorful and matched to the leather for consistency. The wax used on the back and on the edges of the handles and shoulder straps does the same job. It seals the exposed and porous part. All these finishes are applied by hand, using a sponge.
There are a multitude of different treatments that are applied when tanning leathers. Some receive more protectors, others less. The leathers are, at the base, porous and those less protected are more at risk to absorbing oils and fats. When I choose a less protected leather, I add a silicone protector myself. On all leather accessories, with use, this protector wears off and I always recommend treating it at least twice a year. A clear protector for shoes or coats is ideal.

Making an accessory is not a linear process. Very often, the stages of cutting, gluing, trimming, re-cutting and sewing alternate and are ordered differently depending on the accessory. A handbag's style can involve several dozen steps. To perform in order of course!
In addition to all these big steps, there are a multitude of small details that are close to my heart. This will be the subject of the next text!
